Textile Pattern Maker
I have always found the need to bind my crochet work to code, so I wrote this Processing program to visualize my patterns before bringing them to life with my hands.
Deciding On A Pattern To Crochet
Reading existing crochet pattern symbols and making them is very similar to learning a program’s requirements and writing the code for it. Pattern creation, on the other hand, allows for more freedom in production.
Each individual parallelogram is made of increasing increments of stitches, followed by the opposite decreasing increments.
The program prompts you with a grid, with options to draw and delete entries within the Canvas. When you’re satisfied with the pattern, take a screenshot in order to start executing!
Source code can be found on Github (Or you can scroll down and find the code!)
https://youtu.be/oTR9kweJ72Q
Bringing The Pattern To Life
Reading existing crochet pattern symbols and making them is very similar to learning a program’s requirements and writing the code for it. Pattern creation, on the other hand, allows for more freedom in production.
Each individual parallelogram is made of increasing increments of stitches, followed by the opposite decreasing increments.
The program prompts you with a grid, with options to draw and delete entries within the Canvas. When you’re satisfied with the pattern, take a screenshot in order to start executing!
Source code can be found on Github
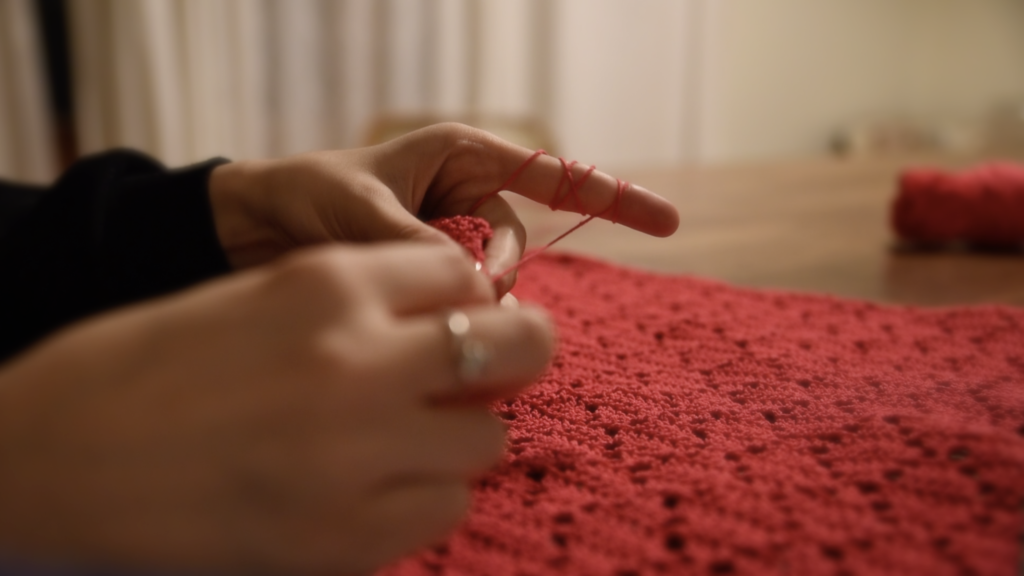
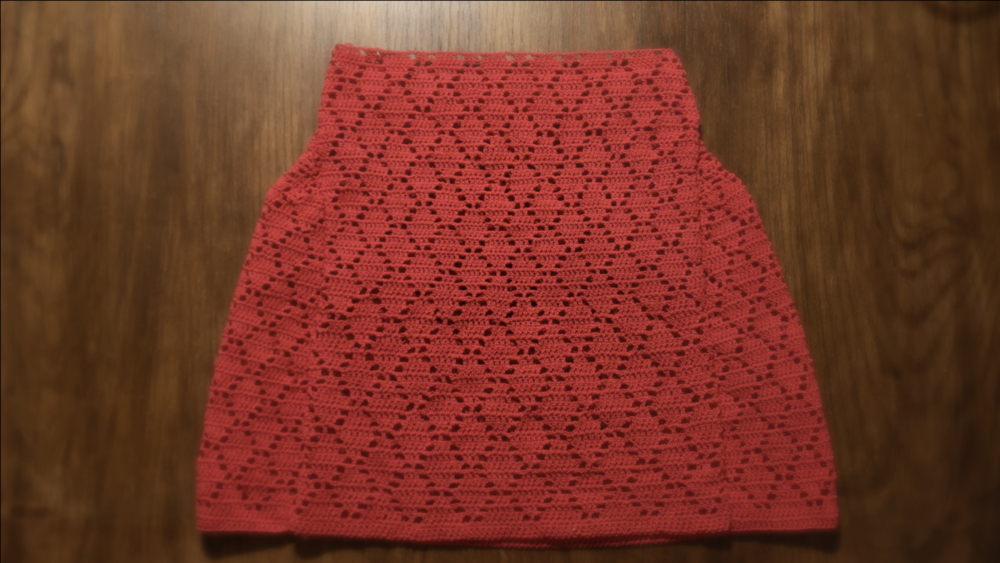
It all begins with taking measurements. Defining the dimensions of the pattern is crucial, otherwise, I would run into bugs and have to retrace and debug the piece. The parallelogram pattern will start appearing every 7 rows with the increments and decrements. I decided that this textile piece will become a skirt. I started by crocheting the front and back sides and then stitching them together.
The pattern I created above consists of two different types of parallelograms forming at the same time. This is how the process is broken down in terms of rows and columns:
-
The first algorithm: 1 middle stitch and incrementing to 3, then 5, then 7, then 5, then 3.
-
The second algorithm: starting at 7, then 5, then 3, then 1, then 3, then 5
Alternating between these two every row and decreasing one stitch each row in order to tighten the piece.
https://youtu.be/yC76BXaCdPg